


Solar Panel Installation Guide for Western Land Buyers
Ross AmatoYou've bought a raw parcel, perhaps a broad piece of sagebrush country in eastern Oregon, and the listing mentioned “off-grid potential.” Now there's no utility meter, no finished cabin, and no obvious place to begin. A solar system can supply dependable power on vacant land, but only when its design matches the parcel, your intended use, local approvals, and the realities of remote maintenance.
This solar panel installation guide focuses on the decisions that matter before you order equipment. You'll need to evaluate sunlight, access, zoning, structure, wiring distances, batteries, permits, and the budget created by your land purchase. Solar PV has become a mainstream installation category. The United States installed 36.2 GWac of PV in 2024, a 34% year-over-year increase, and ended that year with 174.5 GWac of cumulative solar PV systems, according to NREL's U.S. Solar Industry Update. That scale means equipment and installation practices are mature, but it doesn't remove parcel-specific constraints.
Planning Solar Power for Your First Vacant Land Purchase
Start with the land, not the panels. A raw parcel may have excellent sun exposure but poor road access, a steep building site, restrictive zoning, or no practical location for batteries and an inverter. Before requesting bids, confirm what you want the system to support, such as occasional tool charging, an RV, a well pump, a future cabin, or a full-time residence.
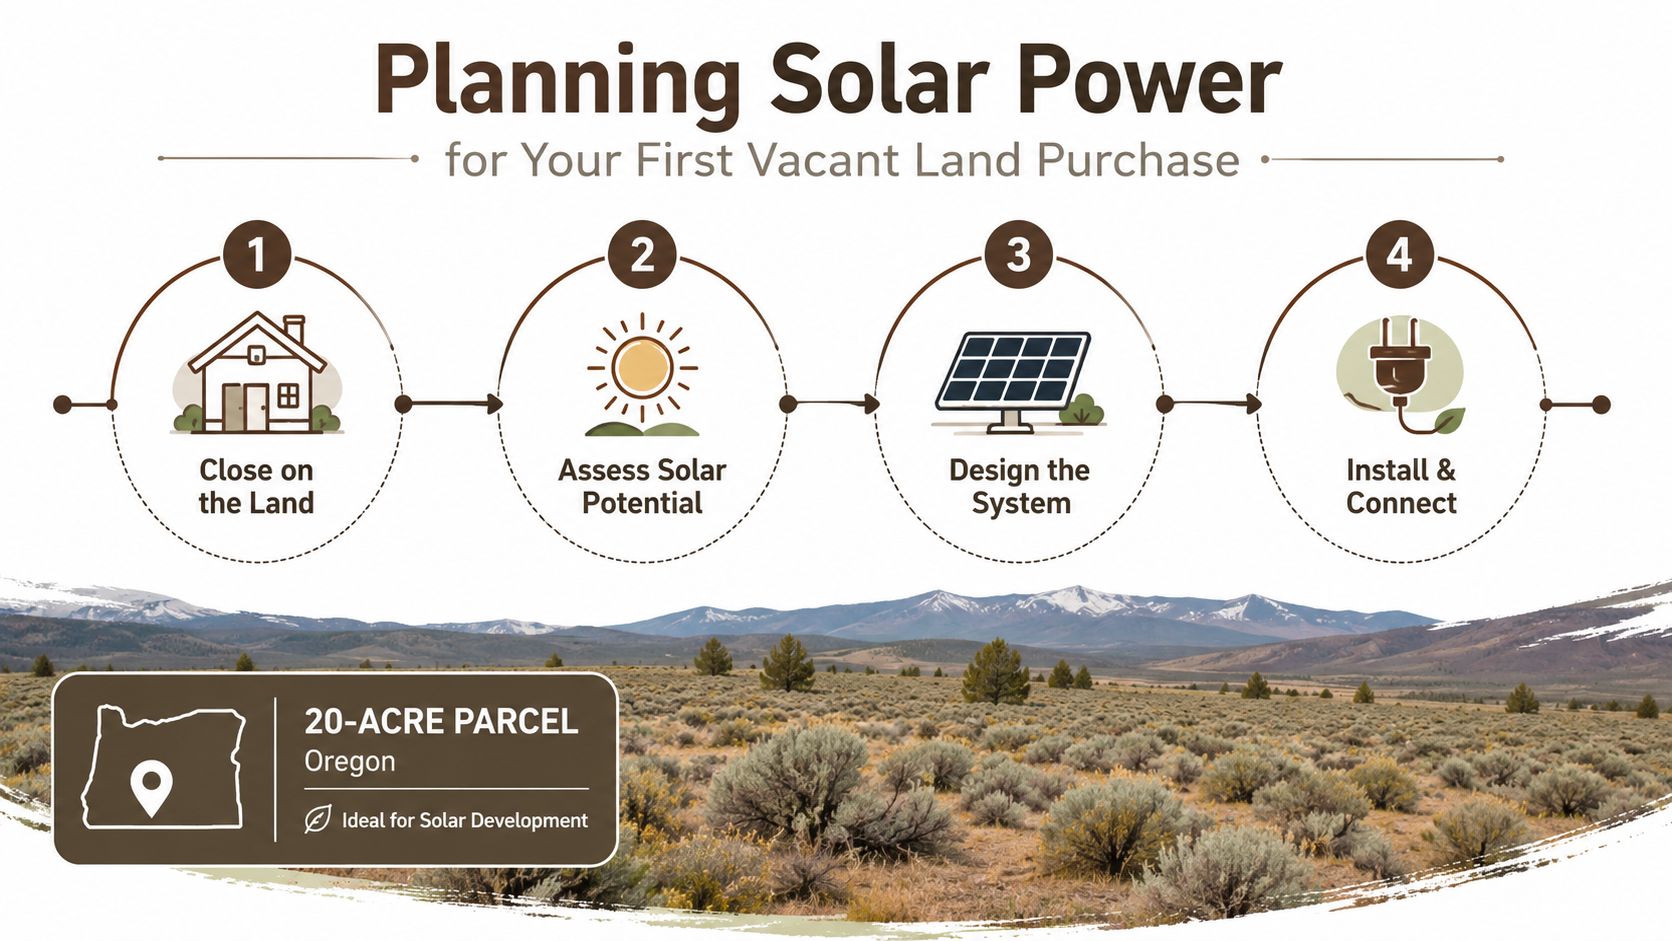
The installation journey usually follows this order:
- Assess the site. Identify sunlight, slope, drainage, seasonal access, potential building areas, and a safe location for equipment.
- Estimate loads. List appliances and tools, their wattage, and how long you'll use them. Separate everyday loads from occasional high-demand equipment.
- Design the array and storage. Choose a ground mount or roof mount, then size panels, the inverter, batteries, disconnects, conduit, and wire runs as one system.
- Confirm approvals. Requirements vary by county. Ask the county building and electrical departments whether an off-grid ground array, battery enclosure, trench, or future dwelling requires separate permits.
- Install and inspect. Set the mount, install modules, route conductors, connect protection equipment, commission the system, and complete any required inspection before regular use.
A remote parcel changes the economics of every mistake. A short cable run can become a long trench, a missed inspection can require another trip, and a poorly selected battery location can create service and safety problems. Read practical guidance on off-grid power planning before you commit to a system.
Practical rule: Treat solar as part of the parcel plan. Place the array, batteries, access route, future structures, water equipment, and waste systems on the same working sketch.
The market's growth also explains why modern installers pay close attention to permitting, interconnection, string design, and repeatable inspection procedures. U.S. annual PV installations rose from 13.4 GWdc in 2019 to 36.2 GWac in 2024, with an intermediate 26.3 GWac in 2023, as documented in NREL's solar technology and market history. Your project is smaller, but the planning discipline is the same.
Assessing Your Parcel for Solar Potential
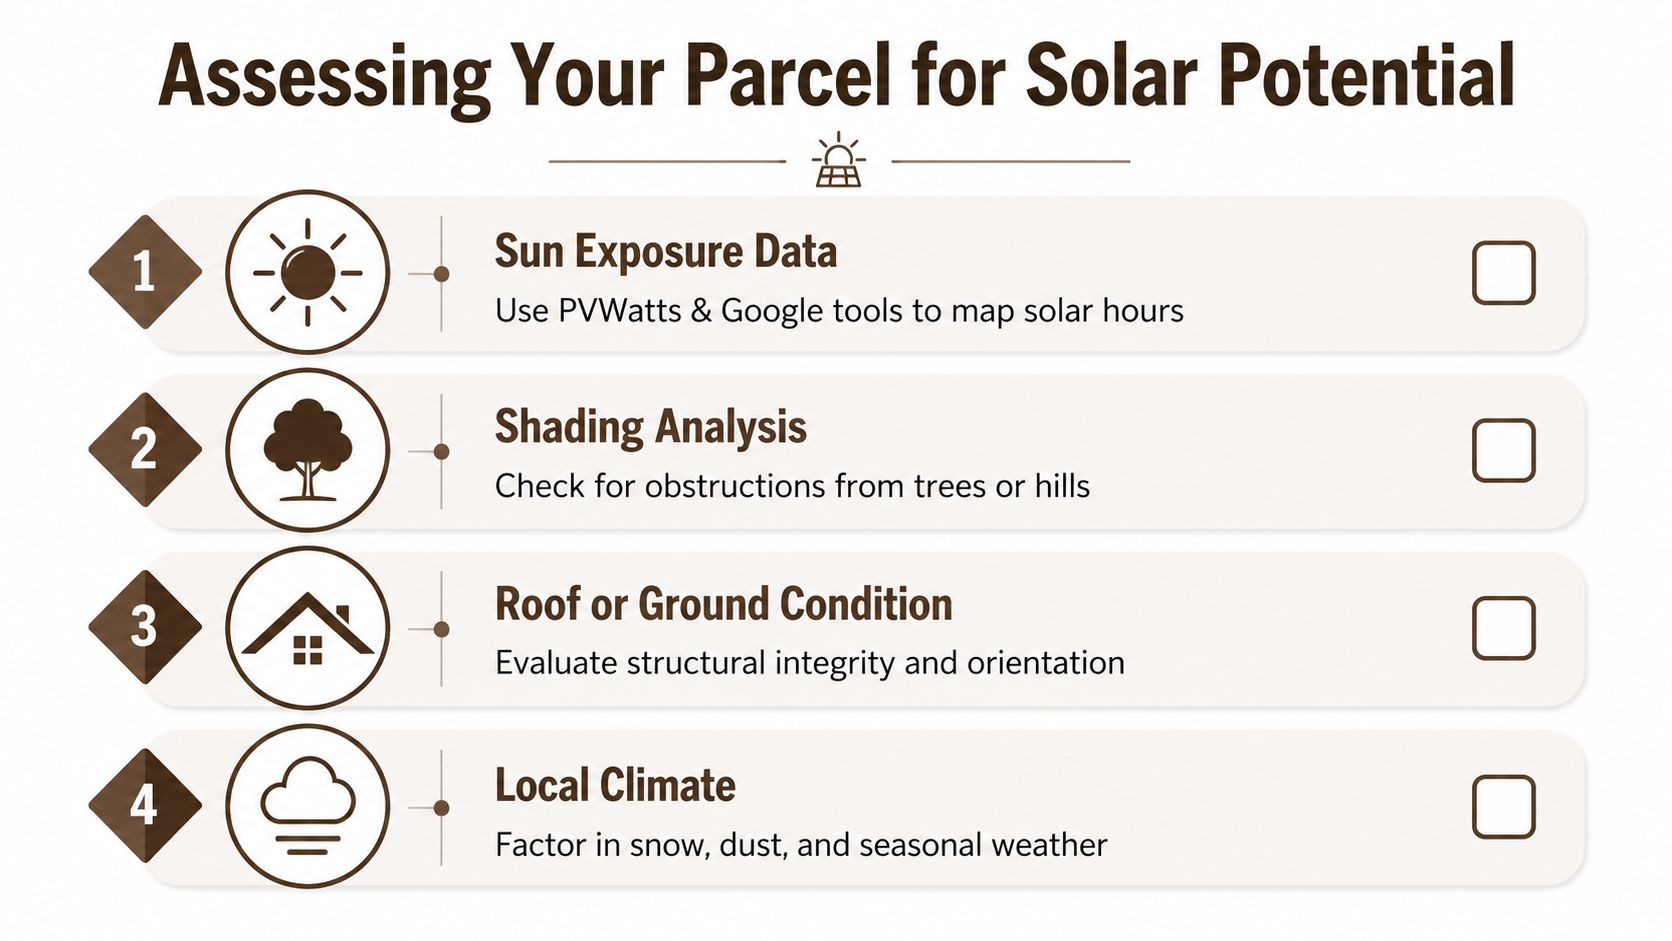
Solar potential is more than seeing a bright field at noon. Western parcels often sit below ridgelines, beside canyon walls, near tall pines, or on slopes that receive winter shadows. A site can look open from the road and still lose useful production during the parts of the day when you need power most.
Begin with a desktop review. Tools such as PVWatts can help model expected production from a proposed location, orientation, and system configuration. Google's solar mapping tools may help identify roof exposure where imagery and coverage are available, but neither replaces a site walk. Treat online results as screening information, not a guarantee of output.
Read the land as a solar site
Walk the parcel from the likely building area to the possible array location. Look for:
- Terrain shading: Ridgelines, canyon walls, and nearby hills can block low-angle sunlight.
- Vegetation: Existing trees may shade the array, while future growth can create a permanent problem.
- Seasonal conditions: Snow, dust, pollen, and low winter sun can affect access and production.
- Drainage: Keep ground mounts away from seasonal washes and areas that carry runoff.
- Future conflicts: Reserve room for a cabin, workshop, driveway, water equipment, and maintenance access.
Hong Kong's official PV guidance recommends structurally sound mounting areas without shading from nearby buildings or trees. It also gives a practical optimal tilt range of 14° to 22° with a south-facing orientation for maximizing energy yield, as stated in the Hong Kong solar PV guidance notes. Western latitude, snow conditions, roof pitch, and seasonal use may justify a different design, so the final angle should come from the site assessment and system model.
Ground mount or roof mount
Vacant land buyers often start with a ground mount because there may be no roof yet. That gives you control over orientation and tilt, and it can simplify cleaning and access. It also adds steel, concrete, excavation, security concerns, and a longer conductor path.
A roof mount can be efficient once a permitted structure exists, but don't build a roof solely to hold panels without considering roof design, future replacement, maintenance, and local requirements. For a raw parcel, a small temporary setup may need a different approval path from a permanent system serving a dwelling. Rules differ by jurisdiction, and buyers should independently verify current requirements before placing an order.
Check the array location at different times of day and, where possible, during different seasons. Also consider future construction on neighboring land and vegetation changes. A clear view today isn't proof of long-term solar access.
Sizing Panels Inverters and Batteries for Real Land Use
Size the system around actual loads, not the panel count that looks attractive in a listing. Write down each appliance, its running wattage, startup demand, and hours of use. Multiply wattage by hours, then convert watt-hours to kilowatt-hours. Pumps, compressors, refrigerators, and power tools may create short peaks that matter more to inverter selection than to daily energy totals.
A weekend parcel might need lights, device charging, a small refrigerator, communications equipment, and occasional tools. A full-time homestead adds refrigeration, water pumping, cooking, heating controls, laundry, workshop loads, and longer battery autonomy. If you'll use an RV, measure its actual electrical loads instead of assuming the vehicle's nameplate tells the whole story.
| Use Case | Daily kWh Need | Panel Array Size | Inverter Rating | Battery Bank Capacity |
|---|---|---|---|---|
| Weekend land visits | Low and intermittent | Small array sized to measured loads | Sized for tools and startup loads | Small bank for overnight essentials |
| RV and site development | Moderate and variable | Medium array with reserve for charging | Sized for tools, chargers, and pump startup | Medium bank for evening and cloudy periods |
| Future cabin | Consistent household demand | Array modeled from a complete load schedule | Sized for simultaneous household loads | Bank sized for overnight and low-sun operation |
| Full-time off-grid homestead | High and continuous | Larger array with seasonal production review | Sized for peak household and pump demand | Larger bank with carefully selected autonomy |
Those descriptions are planning categories, not equipment specifications. A qualified designer should convert your load schedule into a final array, inverter, battery, disconnect, conductor, and protection design. An oversized inverter won't solve an undersized battery bank, and more panels won't correct a poorly placed array.
Match the inverter to the loads
Pure sine wave inverters are generally the safer choice for sensitive electronics, variable-speed equipment, and mixed household loads. Modified sine wave equipment may suit limited basic loads, but the apparent purchase savings can become inconvenient if chargers, motors, or controls behave poorly. Check every major load's startup and operating requirements.
Choose storage for the climate
Lithium iron phosphate batteries usually offer a different balance of usable capacity, maintenance, weight, and cold-weather behavior than flooded lead-acid batteries. Lead-acid systems may require electrolyte checks and ventilation, while lithium systems need an appropriate battery-management system and temperature controls where freezing conditions are possible.
Battery safety deserves its own design review. The guide to extinguishing thermal runaway fires is useful background when deciding where lithium storage belongs and how emergency response should work. For a broader discussion of storage configurations, review battery storage systems.
Choosing Between DIY Installation and Hiring a Professional
DIY solar can make sense for an experienced owner who understands electrical safety, structural loading, grounding, conductor protection, and local inspection requirements. It becomes a poor bargain when the owner learns each issue after trenching, mounting, and wiring are already complete.
A professional installation costs more upfront because you're paying for design, labor, code knowledge, procurement, commissioning, and responsibility for coordinating inspections. On a remote parcel, that premium may be justified by the cost of returning to the site to correct a failed inspection or a loose connection. One independent technical summary citing NREL data reports panel failure rates of 0.1% to 0.2% annually, compared with 1% to 2% for wiring and terminations, as described in NREL's technical reliability report. The practical lesson is to focus on workmanship, torque, connector compatibility, weatherproofing, and commissioning.
| Factor | DIY Installation | Professional Installation |
|---|---|---|
| Design | Owner researches and coordinates components | Installer or engineer develops a matched design |
| Labor | You provide the labor and site management | Crew handles mounting, wiring, and commissioning |
| Permits | You must learn the local submission process | Contractor may prepare or coordinate documents |
| Safety | Higher personal exposure to electrical and lifting hazards | Trained crew follows established safety procedures |
| Remote service | Rework remains your responsibility | Warranty and service arrangements may be available |
| Flexibility | Easier to build in stages | Better suited to a complete, code-reviewed system |
A hybrid approach often works well. You might prepare the ground, assemble approved racking, or stage materials, then hire a qualified electrician for system connections, inspection preparation, and final testing. Confirm that the contractor and equipment manufacturers allow that arrangement.
A remote installation magnifies small errors. Wire sizing, grounding, fastener torque, and water sealing deserve professional review even when you install the physical array yourself.
County rules may require a licensed electrician for certain work or final sign-off. Requirements vary by county, and warranty terms can differ by manufacturer. To compare local service options, a directory such as the GeneratorInstallerList solar directory can be a starting point, but verify licensing, insurance, references, and jurisdictional experience independently.
Navigating Permits Utility Approvals and Inspections
Permitting is part of the installation, not paperwork that happens afterward. A ground-mounted off-grid system may still fall under building, electrical, grading, fire, or battery-storage rules. A grid-tied system adds utility interconnection, equipment certification, export limitations, and a permission-to-operate process.
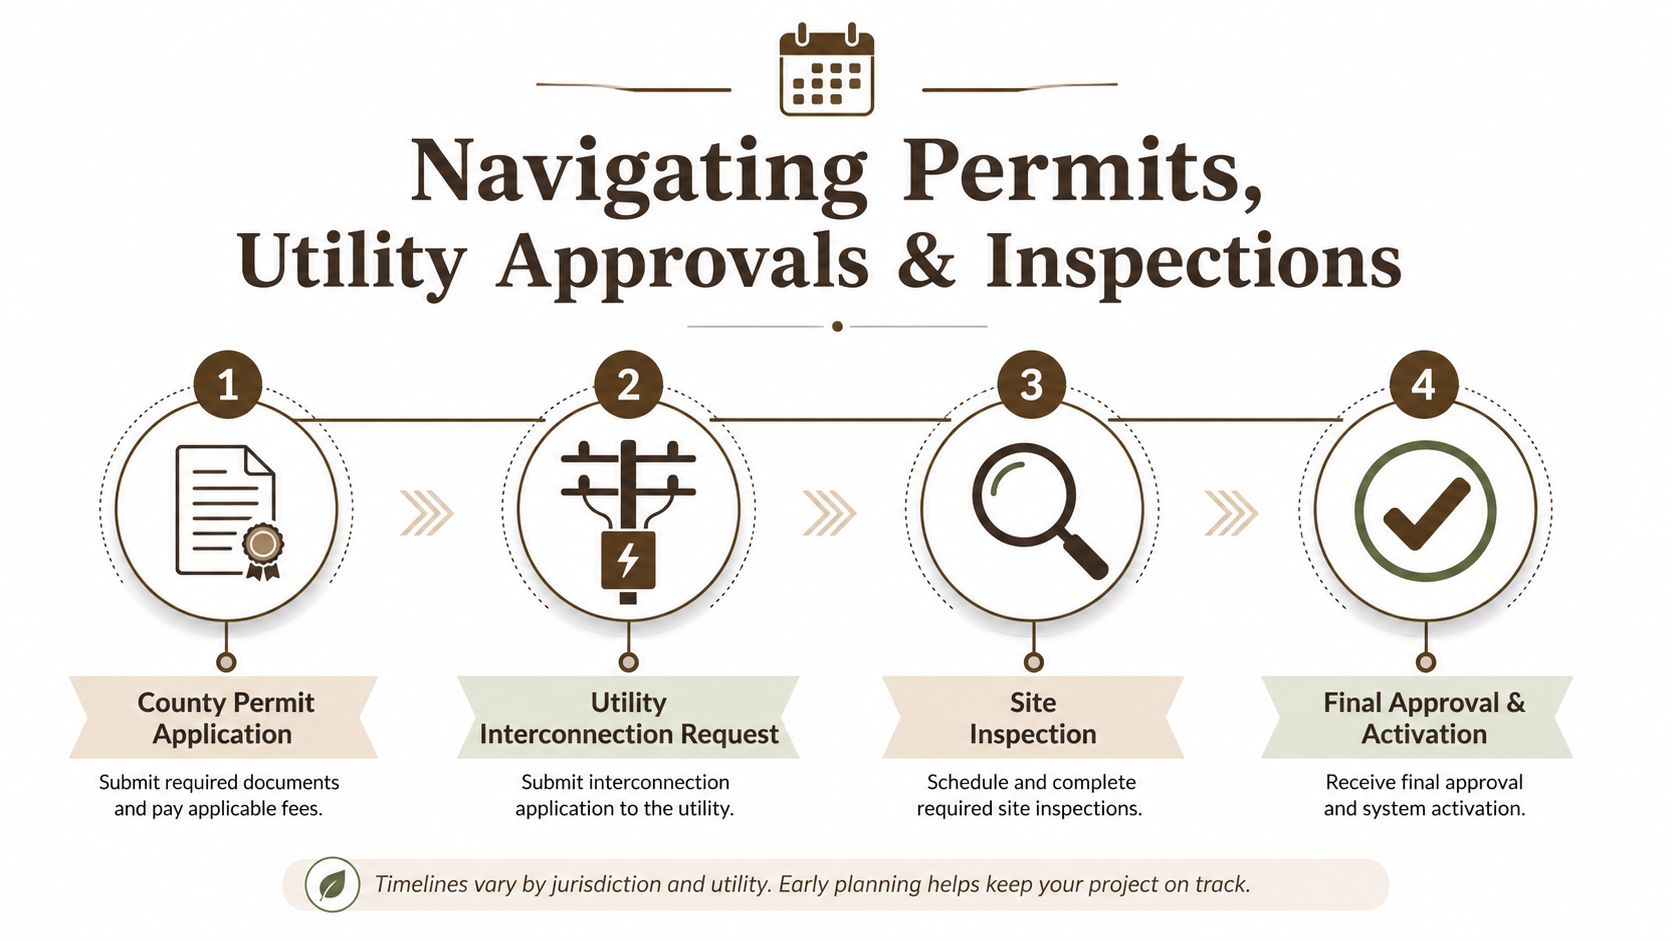
The usual sequence is:
- County permit application: Submit the site plan, structural details, electrical design, equipment information, and any required battery documentation.
- Utility interconnection request: Apply if the system will connect to the utility, export electricity, or operate as a grid-connected hybrid.
- Construction and inspections: Schedule inspections before covering conduit, closing trenches, or concealing grounding and structural work.
- Final approval: Complete corrections, receive the required sign-off, and activate the system only when the responsible authorities allow it.
Local rules can change the schedule substantially. A nationwide analysis of 248,741 U.S. PV systems found that local permitting and interconnection requirements explain meaningful differences in process duration. The same NREL-backed analysis reports that SolarAPP+ reduced full median timelines from 47.5 to 33 business days, about 14.5 business days and 31% faster, where the platform is available, according to NREL's permitting and interconnection analysis.
Rural delays and project type
A small off-grid array, a battery retrofit, a permanent dwelling system, and a larger energy facility may follow different review paths. Recent NREL permitting information says SolarAPP+ can reduce permit review to less than a day in participating areas, while state-based permitting for larger energy facilities can average about a year from application to decision, as outlined in NREL's permitting, inspection, and interconnection research. Don't apply a rooftop assumption to a remote parcel with storage, trenching, or future construction.
Ask the county and utility about setbacks, wind and snow design, fire access, battery placement, trench depth, inspection timing, and whether a temporary structure changes the review. Keep approved drawings and inspection records with the property file. Unpermitted work can create enforcement problems and complicate later building approvals.
Tools Materials and Ongoing Maintenance Essentials
Remote solar work rewards preparation. Stage equipment before seasonal road problems, verify every connector and fastener against the design, and keep a site inventory so a small replacement doesn't require a long supply run.
Useful equipment includes:
- Electrical tools: A properly rated multimeter, torque wrench, MC4 crimper, wire stripper, insulated hand tools, and labeling supplies.
- Mounting materials: Approved racking, structural fasteners, concrete for ground-mount footings where specified, and corrosion-resistant hardware.
- Wiring protection: UV-rated conduit, correctly sized conductors, grounding and bonding materials, disconnects, breakers, fuses, and weatherproof enclosures.
- Safety equipment: Eye protection, gloves, fall protection where applicable, lockout equipment, lifting assistance, and fire-safety equipment suited to the installation.
Maintenance should follow the parcel's seasons. Clear snow safely when necessary, inspect for rodent damage after winter, remove dust and pollen during dry months, and check connections before strong seasonal storms. Don't climb on a roof or work around energized equipment without the right training and controls.
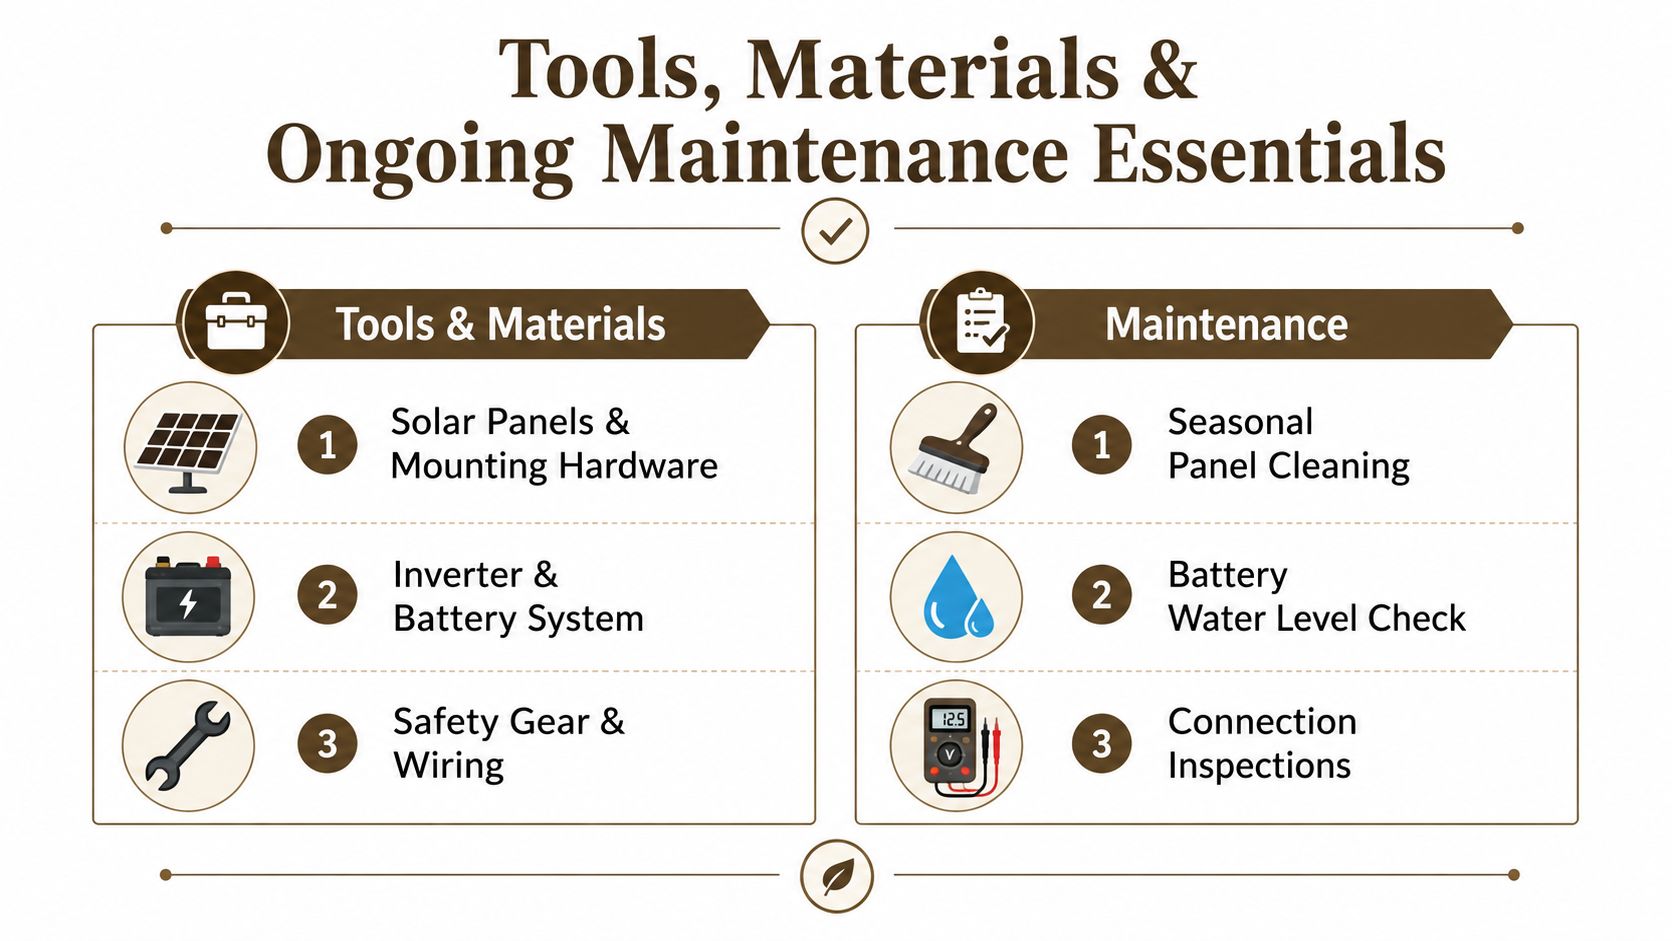
Battery maintenance depends on chemistry. Flooded lead-acid batteries need electrolyte and terminal checks, while lithium systems require monitoring of battery-management alerts, temperature conditions, and charge-controller records. Keep spare fuses, breakers, and compatible connectors on site, but don't substitute parts without confirming ratings.
For climate-specific cleaning ideas, the Arizona solar panel maintenance checklist offers a useful reference for dusty conditions. Pair that with a load review using a generator sizing guide, especially if extended low-sun periods could affect water, refrigeration, or communications.
Budgeting Solar Costs Within a Seller-Financed Land Plan
Solar should be a separate line in your land budget, not an afterthought. Equipment, ground preparation, trenching, batteries, backup generation, permitting, and remote labor can all affect the final amount, and property-specific estimates vary widely. Keep enough flexibility for the system you need after confirming access, use, and approvals.
Seller financing commonly involves a down payment, a promissory note, and fixed monthly payments. A neutral land-finance guide describes repayment terms often ranging from 2 to 10 years, with fixed monthly installments, as explained in this overview of land for sale with monthly payments. Review how seller financing works in real estate, then compare the land payment with a conservative solar budget before ordering equipment.
Plan the power system after you understand the parcel. Confirm access, zoning, intended use, and approval requirements first. Then size solar around real loads rather than a hoped-for future.
Dollar Land Store offers direct sales of vacant land, seller-financed options, no-credit-check seller financing, and educational resources for buyers evaluating rural parcels across multiple states. Review available land and compare each parcel's solar, access, utility, and permitting questions at Dollar Land Store.